
Нужна помощь?
Создайте тему в соответствующем разделе
Не нужно писать всё в чат!Загляните на торговую площадку
Там вы можете купить
всё что касается игровых серверовНе хотите бан?
Пожалуйста, ознакомьтесь с нашими правилами
Не нарушайте порядок!Продаёте или покупаете?
Пользуйтесь услугами гаранта
Мы сделаем вашу сделку безопасной
-
Объявления
-

⚙️ Новые онлайн-инструменты для DayZ 07/26/26
-
 Спасибо (+0 к репутации)
 +1 к репутации
 Хаха (+0 к репутации)
 Палец вниз (+0 к репутации)

-
Похожие публикации
-
 Автор: DrTauren
Собственно из названия темы всё понятно, да и сам скрипт всем давно известен. Он позволяет изменить дальность прорисовки при нажатии ПКМ по биноклю или дальномеру.
Что вам понадобится:
Инструкция по установке:
1) Качаем архив:
2) Открываем наш extra_rc.hpp и добавляем туда код:
class Binocular { class distanceb500m { text = "500 meters"; script = "execVM 'custom\setview\500.sqf'"; }; class distanceb1000m { text = "1000 meters"; script = "execVM 'custom\setview\1000.sqf'"; }; class distanceb1500m { text = "1500 meters"; script = "execVM 'custom\setview\1500.sqf'"; }; class distanceb2000m { text = "2000 meters"; script = "execVM 'custom\setview\2000.sqf'"; }; class distanceb2500m { text = "2500 meters"; script = "execVM 'custom\setview\2500.sqf'"; }; class distanceb3000m { text = "3000 meters"; script = "execVM 'custom\setview\3000.sqf'"; }; class distanceb3500m { text = "3500 meters"; script = "execVM 'custom\setview\3500.sqf'"; }; class distanceb4000m { text = "4000 meters"; script = "execVM 'custom\setview\4000.sqf'"; }; class distanceb4500m { text = "4500 meters"; script = "execVM 'custom\setview\4500.sqf'"; }; class distanceb5000m { text = "5000 meters"; script = "execVM 'custom\setview\5000.sqf'"; }; }; class Binocular_Vector { class distanceb500m { text = "500 meters"; script = "execVM 'custom\setview\500.sqf'"; }; class distanceb1000m { text = "1000 meters"; script = "execVM 'custom\setview\1000.sqf'"; }; class distanceb1500m { text = "1500 meters"; script = "execVM 'custom\setview\1500.sqf'"; }; class distanceb2000m { text = "2000 meters"; script = "execVM 'custom\setview\2000.sqf'"; }; class distanceb2500m { text = "2500 meters"; script = "execVM 'custom\setview\2500.sqf'"; }; class distanceb3000m { text = "3000 meters"; script = "execVM 'custom\setview\3000.sqf'"; }; class distanceb3500m { text = "3500 meters"; script = "execVM 'custom\setview\3500.sqf'"; }; class distanceb4000m { text = "4000 meters"; script = "execVM 'custom\setview\4000.sqf'"; }; class distanceb4500m { text = "4500 meters"; script = "execVM 'custom\setview\4500.sqf'"; }; class distanceb5000m { text = "5000 meters"; script = "execVM 'custom\setview\5000.sqf'"; }; }; }; 3) Копируем папку setview из архива в нашу папку custom, находящуюся в папке миссии
Вот и всё. Надеюсь кому-то помог
Пожалуйста, Войдите или Зарегистрируйтесь, чтобы увидеть это: Вложение.
-
 Автор: yuraok3
Добрый день установил скрипт
ПКМ опции у предмета. Maca_rc, вобще не в какую не работает уже пробывал и переустановить и со сборки взять готовый просто не работает и все в консоле пусто. Кто поможет буду очень благодарен) -
 Автор:
 DeD
DeD
Всем привет
Поставил скрипт DZGM, строго по инструкции, ПКМ по предметам перестал работать совсем. Когда возвращаю путь ui_selectSlot по умолчанию всё становится норм. RPT чист, за исключением одного:
4:04:19 Warning Message: Picture npg.paa not found 4:04:19 Warning Message: Picture npg.paa not found 4:04:19 Warning Message: Picture npg.paa not found 4:04:19 Warning Message: Picture npg.paa not found 4:04:19 Warning Message: Picture npg.paa not found 4:04:19 Warning Message: Picture npg.paa not found 4:04:19 Warning Message: Picture npg.paa not found 4:04:19 Warning Message: Picture npg.paa not found 4:04:19 Warning Message: Picture npg.paa not found 4:04:19 Warning Message: Picture npg.paa not found 4:04:19 Warning Message: Picture npg.paa not found 4:04:19 Warning Message: Picture npg.paa not found 4:04:19 Warning Message: Picture npg.paa not found 4:04:19 Warning Message: Picture npg.paa not found
Но это проблема чистой сборки с банком 2.0, тут парень где-то тоже про нее писал. Если и с этим поможете, буду очень благодарен
-
Автор: DrTauren
Особенности:
Сборка моззи, велика или мотоцикла Меню сборки при нажатии ПКМ на тулбокс Остановка сборки при движении персонажа Сборка транспорта (а так же поломаного) Возможность продать собранный транспорт Транспорт не заносится в БД и удаляется после рестарта После сборки детали появляются на земле Что нам понадобится:
Этот архив
Инструкция:
1) Открываем ваш кастомный variables.sqf и в самый низ добавляем код:
EVDVehicleArray = ["MMT_Civ","TT650_Civ","CSJ_GyroC"];dayz_allowedObjects = dayz_allowedObjects + EVDVehicleArray;if(isServer) then { DZE_safeVehicle = DZE_safeVehicle + EVDVehicleArray;};
2) Открываем init.sqf и находим это:call compile preprocessFileLineNumbers "\z\addons\dayz_code\init\variables.sqf";
и ниже добавляем это:call compile preprocessFileLineNumbers "ПУТЬ К СКРИПТУ\variables.sqf";
где SCRIPT_PATH\variables.sqf - путь к соответствующему кастомному файлу
3) Находим строку:call compile preprocessFileLineNumbers "\z\addons\dayz_code\init\compiles.sqf";
и ниже добавляем это:call compile preprocessFileLineNumbers "ПУТЬ К СКРИПТУ\compiles.sqf"; //Compile custom functions
где SCRIPT_PATH\compiles.sqf - путь к соответствующему кастомному файлу
4) Открываем ваш кастомный ui_selectSlot.sqf и ищем это:_pos set [3,_height];
и выше добавляем этот код:// Add extra context menus _erc_cfgActions = (missionConfigFile >> "ExtraRc" >> _item); _erc_numActions = (count _erc_cfgActions); if (isClass _erc_cfgActions) then { for "_j" from 0 to (_erc_numActions - 1) do { _menu = _parent displayCtrl (1600 + _j + _numActions); _menu ctrlShow true; _config = (_erc_cfgActions select _j); _text = getText (_config >> "text"); _script = getText (_config >> "script"); _height = _height + (0.025 * safezoneH); uiNamespace setVariable ['uiControl', _control]; _menu ctrlSetText _text; _menu ctrlSetEventHandler ["ButtonClick",_script]; }; };
5) Открываем description.ext и в конец добавляем:#include "ПУТЬ К СКРИПТУ\extra_rc.hpp"
6) Создаём файл extra_rc.hpp по тому пути что указали в пункте выше и вставляем туда код:class ExtraRc { class ItemToolbox { class BuildBike { text = "Deploy Bike"; script = "['MMT_Civ'] execVM 'ПУТЬ К СКРИПТУ\EVD\EVD_deploy.sqf'"; }; class BuildMotorcycle { text = "Deploy Motorcycle"; script = "['TT650_Civ'] execVM 'ПУТЬ К СКРИПТУ\EVD\EVD_deploy.sqf'"; }; class BuildMozzie { text = "Deploy Mozzie"; script = "['CSJ_GyroC'] execVM 'ПУТЬ К СКРИПТУ\EVD\EVD_deploy.sqf'"; }; };};
если у вас уже установлена функция для использования ПКМ по предметам, то файл должен содержать этот код, а не то что выше:class ExtraRc { class ItemBloodbag { class Use { text = "Use Bloodbag"; script = "execVM 'ПУТЬ К СКРИПТУ\SelfBB\SelfBB.sqf'"; }; }; class ItemToolbox { class BuildBike { text = "Deploy Bike"; script = "['MMT_Civ'] execVM 'ПУТЬ К СКРИПТУ\EVD\EVD_deploy.sqf'"; }; class BuildMotorcycle { text = "Deploy Motorcycle"; script = "['TT650_Civ'] execVM 'ПУТЬ К СКРИПТУ\EVD\EVD_deploy.sqf'"; }; class BuildMozzie { text = "Deploy Mozzie"; script = "['CSJ_GyroC'] execVM 'ПУТЬ К СКРИПТУ\EVD\EVD_deploy.sqf'"; }; };};
7) Открываем ваш fn_selfActions.sqf и ищем этот код:// All Traders if (_isMan and !_isPZombie and _traderType in serverTraders) then {
и над ним добавляем это://Pack Vehicles if (_typeOfCursorTarget in EVDVehicleArray and _hasToolbox and !(locked _cursorTarget) and (damage _cursorTarget < 1)) then { if (s_player_packvehicle < 0) then { s_player_packvehicle = player addAction ["Pack Vehicle", "SCRIPT_PATH\EVD\EVD_pack.sqf",_cursorTarget, 0, false, true, "",""]; }; } else { player removeAction s_player_packvehicle; s_player_packvehicle = -1; };
8) Папку EVD копируем в новую папку по тому пути что всё это время указывали в кодах выше.
Опция - добавление своего транспорта:
Оригинал статьи: http://epochmod.com/forum/index.php?/topic/10905-release-enhanced-vehicle-deployment-with-right-click-option/
-
-
Наш выбор
-

Персональный скин, точка спавна, и сет с лутом при респавне, стартовый лут для всех!
123new опубликовал тему в Версия 1.0 и выше,
Скрипт, добавляющий админу сервера возможность указывать для каждого игрока индивидуальный скин спавна, его персональную точку спавна и один из имеющихся на сервере стартовых наборов с лутом, которые можно составить самим.-
-
- 638 ответов
-
-
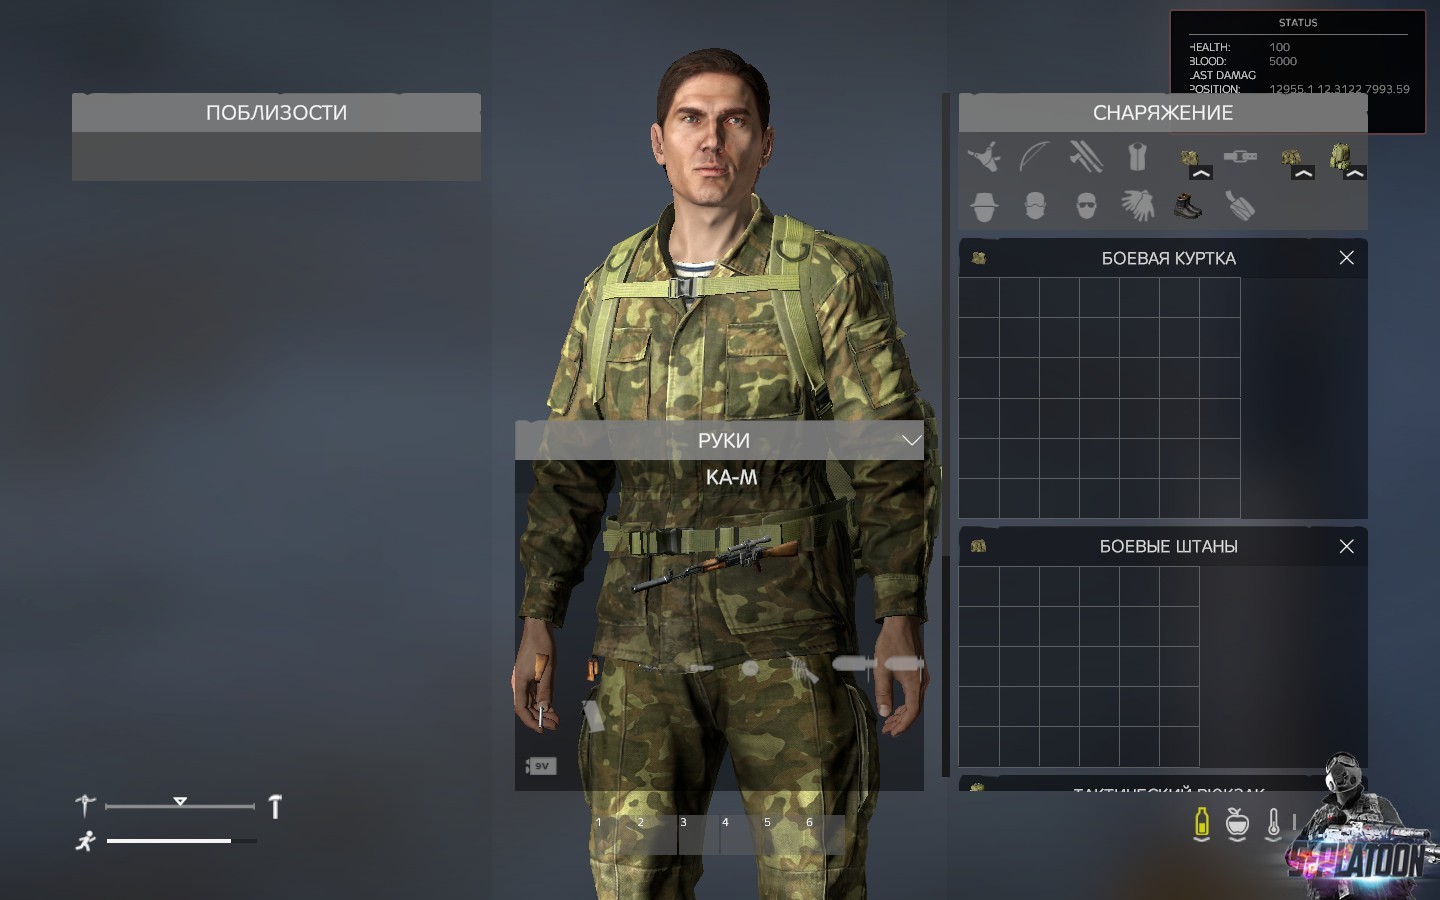
Создаем свой серверный мод. [DayZ 1.4 to Discontined]
123new опубликовал тему в Версия 1.0 и выше,
В данной теме я распишу возможность создания серверного мода для сервера на собственном примере и объясню как его собрать...-
-
- 120 ответов
-
-
![Создаем свой серверный мод. [DayZ 1.4 to Discontined]](https://s-platoon.magicbyte.org/uploads/monthly_2020_05/20200520195735_1.jpg.ce8234454d57afb0855c98c502d88340.jpg)